Re-issue Reasons
Over the course of your SSL certificate’s lifespan, it may be necessary for you to re-issue it at some point. This can happen for a number of reasons:
- Your private key has been compromised
- You are adding/removing SAN’s
- Industry updates
- Changing hashing algorithms
- Moving servers
The good news is that, outside of time, it probably won’t cost you anything—most SSL certificates come with unlimited free reissuances for their entire lifespan. Below you will find instructions on how to re-issue your active certificate(s) from your account on The SSL Store™.
1. Generate CSR
Before you re-issue your SSL Certificate, make sure that you have the appropriate CSR. For that, you may use either one of the following:
- Original CSR – this is the old CSR you used to issue the certificate previously (note: only do this if you still have access to the Private Key that was generated with that CSR).
- New CSR – create a new CSR using either an online tool or directly from your webserver (recommended – you can find instructions on how to generate a new CSR on your server here).
Note: If you generate a new CSR, make sure you save your Private key in a safe place. You will need it to install the re-validated certificate later.
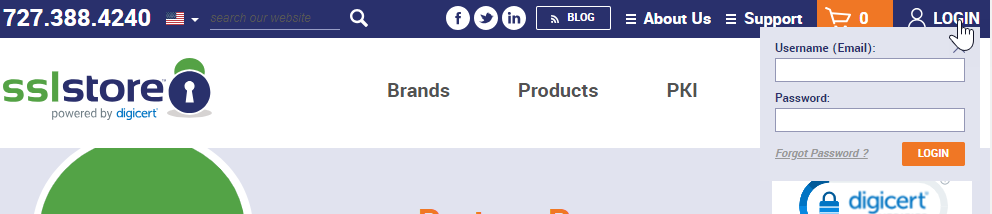
2. Login at TheSSLStore.com
Click the Log In button on the top right and enter your e-mail address and password.
3. Locate Order
Select Total Orders on the top-left of the Dashboard.
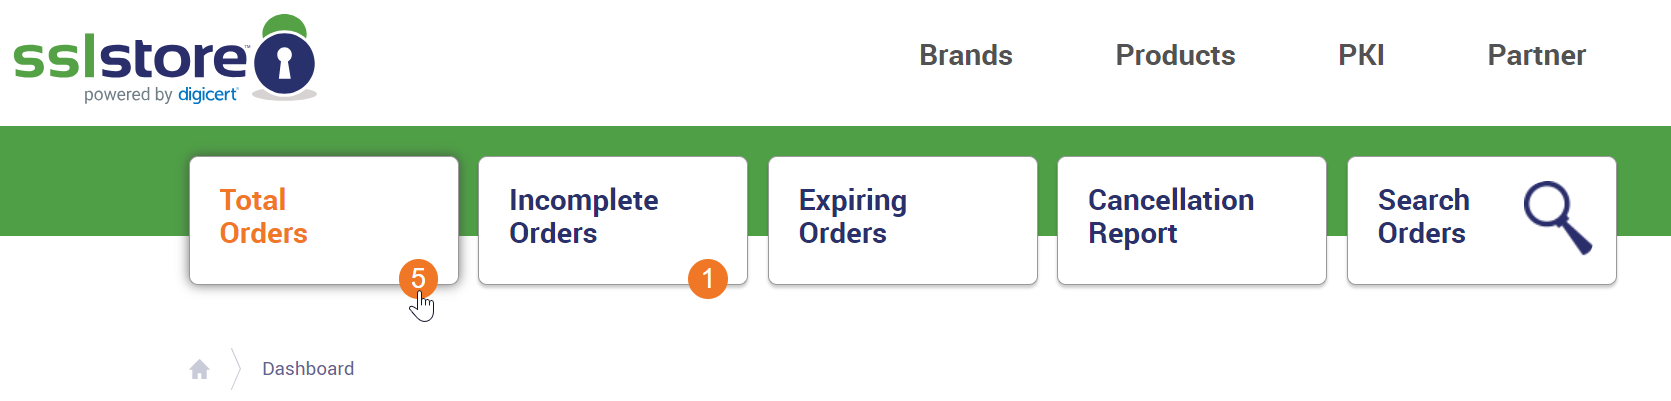
Alternatively, you can click Search Orders to search for the certificate by order number or domain name.
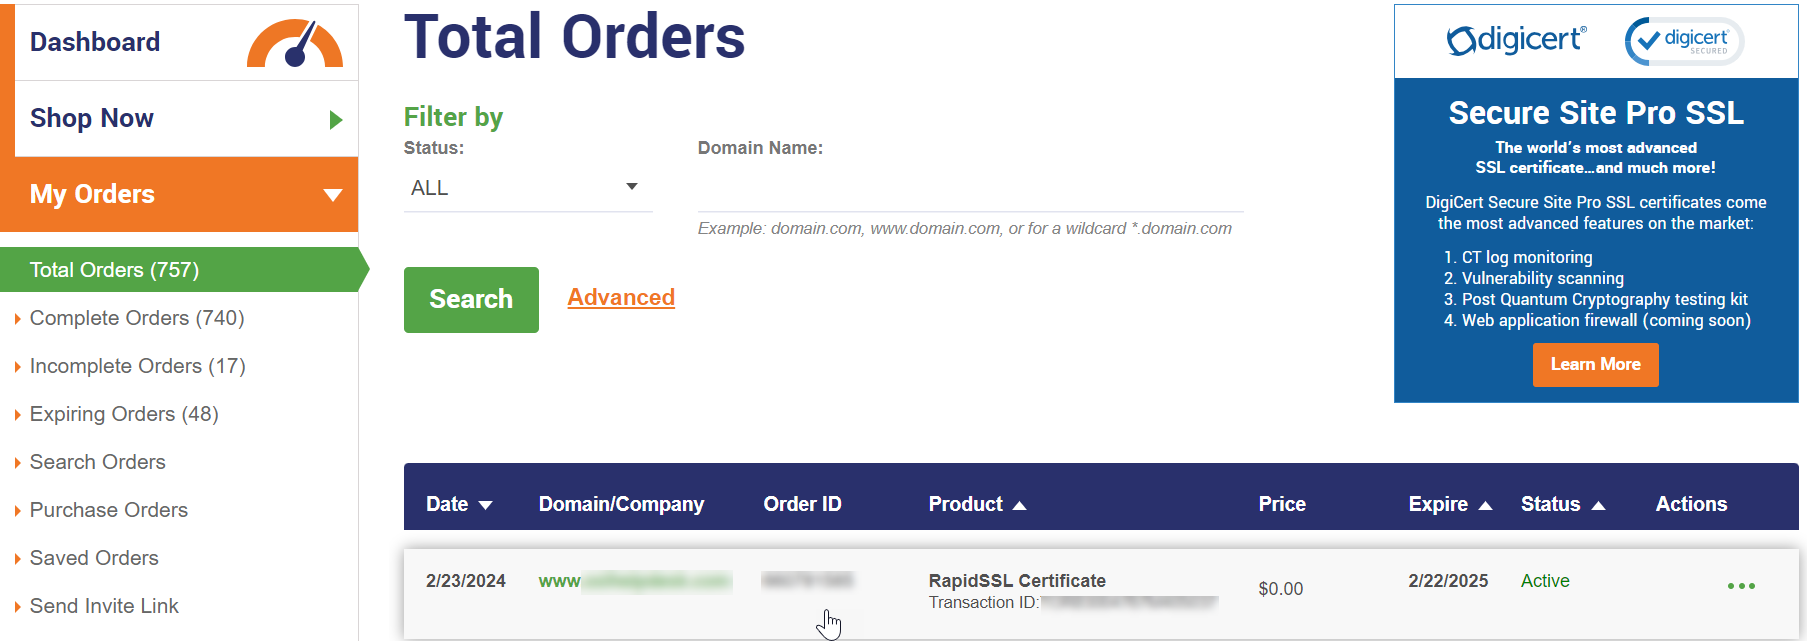
4. View Order Details
Locate the order for the certificate you would like to re-issue, and click anywhere in the order row to view the full details. You can search for the order by the domain name, but you may need to use the Advanced search options and adjust the date filter if the order was purchased more than six months ago.
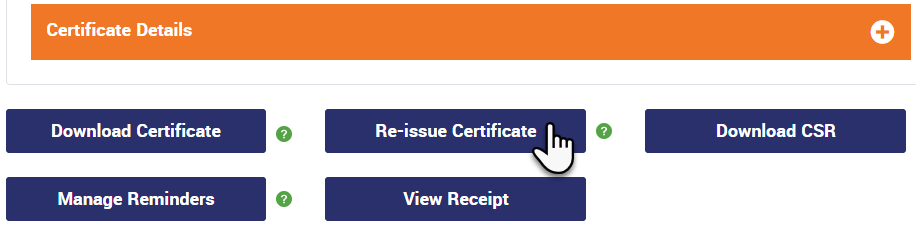
5. Re-Issue Certificate
Scroll to the bottom of your order page and select Re-issue Certificate.
6. Paste CSR
Copy and paste your CSR into the area indicated below.
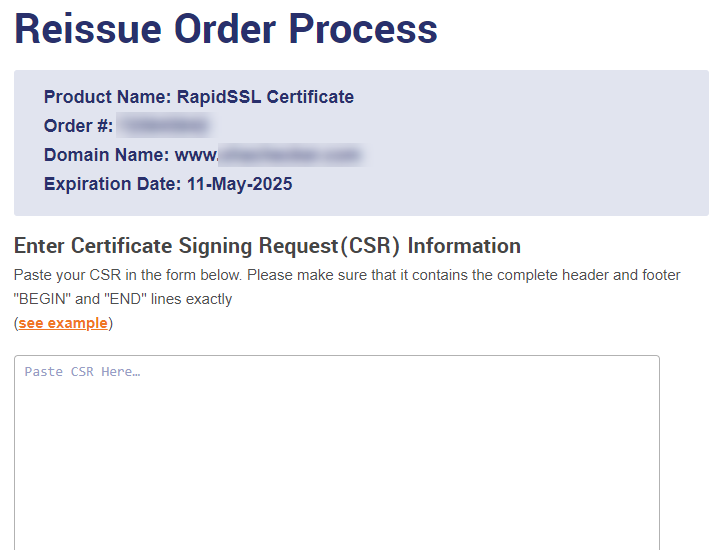
Below the CSR field you can check the option to include both “www.your-domain” on the certificate. We only recommend using this option when your CSR common name is a base domain (such as your-domain.com) and not a sub-domain (such as subdomain.your-domain.com). This option must be unchecked if your certificate is for an IP address.

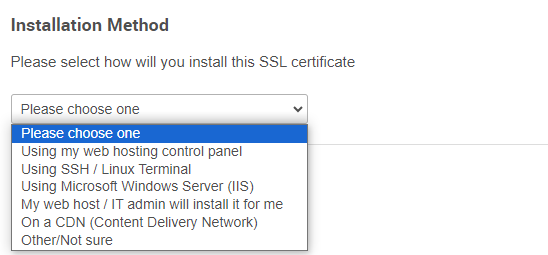
7. Select Installation Method
Select the method you’ll use to install the certificate. If you’re not sure, select Other. This selection does not impact your certificate file format.
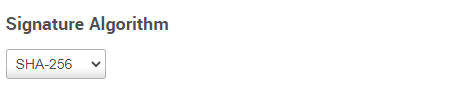
8. Signature Algorithm
The Signature Algorithm dictates what strength hashing algorithm the certificate will use. The industry standard is SHA-256, so most users will not need to change this selection. Click Continue when ready.
9. Validation Method
Depending on the type of certificate, you may have the option to select the domain validation method.
E-mail Authentication – Selecting this option indicates that you will prove domain ownership via e-mail. A confirmation e-mail will be sent to the following email addresses:
- The email address listed on the whois for the domain in question
- admin@<domain.com>
- administrator@<domain.com>
- hostmaster@<domain.com>
- postmaster@<domain.com>
- webmaster@<domain.com>
IP addresses may not be verified by email.
File Based Authentication – Selecting this option indicates that you will upload a .txt file based on the hash values of your CSR to the root folder of each individual domain (including www and other sub-domains). The file will be provided to you once you submit the reissue and you will need to upload it to the following path:
- https://<domain.com>/.well-known/pki-validation/<MD5hash>.txt
Please note the File Based method is not allowed for wildcard certificates.
IP addresses must be verified by file.
DNS Based Authentication – Selecting this options allows you to create a DNS record using the hash values provided by the Certificate Authority after the request is submitted.
IP addresses may not be verified by DNS.
10. Submit Re-issue Request
Once you have finished uploading your CSR and making all necessary selections, submit the request. Your certificate status may become “Pending” if there are any necessary validation steps.
11. Re-Validate
When you request a certificate to be re-issued, the issuing certificate authority must go through the validation process again. The good news is that they were already able to complete this process for your order previously, so re-validation typically goes very quickly and smoothly. However, if you are re-issuing a type of certificate that requires business verification, such as an Organization Validation or Extended Validation certificate, the Certificate Authority may require some documentation from you.
After you complete the validation process and have received the re-issued SSL certificate, you can proceed to installing the new certificate. You can find instructions on installing SSL on different servers on our Installation page.